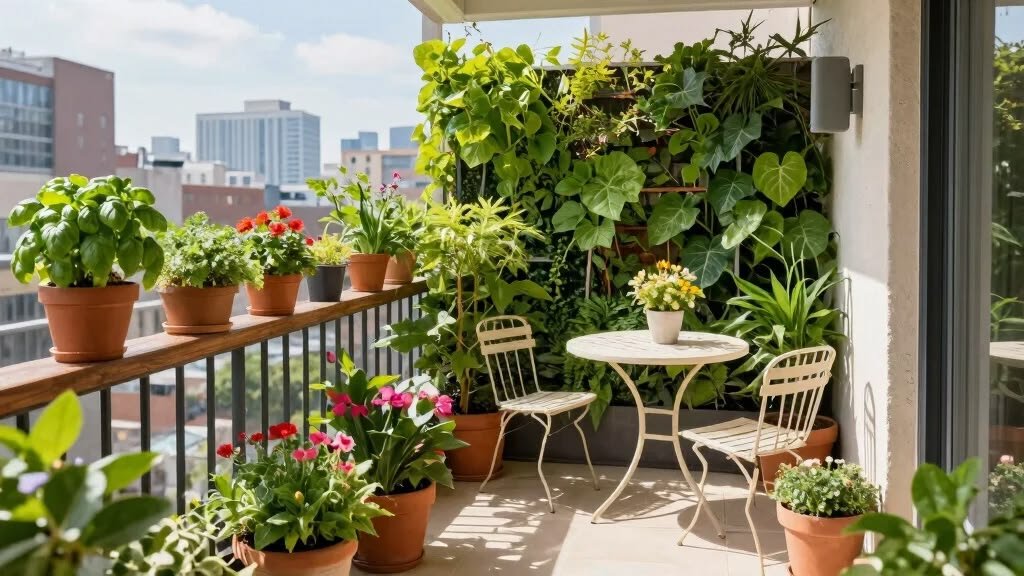
I still remember standing on my tiny balcony, staring at a pot of wilted basil and one very sad-looking tomato plant, wondering where I went wrong. I had done everything I thought was right — bought decent soil, watered regularly, placed them near the window. And yet, my plants looked like they’d given up on life.
Turns out, I had made almost every classic beginner mistake in the book. Not one or two — basically all of them, at the same time.
If you’re just starting your apartment garden journey, or if your plants are looking less “thriving” and more “surviving,” this one’s for you. These are the real mistakes I made, what they actually did to my plants, and how I fixed them. No fluff, no lecture — just honest experience.
Mistake 1: Watering on a Fixed Schedule Instead of Checking the Soil
This was probably my biggest blunder. I read somewhere that most plants need water every two to three days, so I set a little reminder on my phone and watered like clockwork. Didn’t matter if it rained, didn’t matter if the soil was still wet — 8 AM, Wednesday and Saturday, water time.
My mint drowned. My succulents rotted from the roots. My peace lily, ironically, was the only one that survived because it apparently enjoys drama and inconsistency.
What I learned: Plants don’t care about your schedule. They care about their soil moisture.
The real fix? Before watering anything, stick your finger about an inch into the soil. If it feels dry, water it. If it’s still damp, leave it alone. For succulents and cacti, wait until the soil is completely dry and then some. For herbs like basil or mint, they like moisture but hate sitting in water.
I also started using a cheap moisture meter I found for under $10 online. Game changer. No more guessing.
| Plant Type | Watering Frequency (General Guide) |
|---|---|
| Succulents / Cacti | Every 10–14 days (when fully dry) |
| Herbs (Basil, Mint) | Every 2–3 days (keep moist, not soggy) |
| Leafy Greens | Every 1–2 days in warm weather |
| Tropical Plants | Every 5–7 days, check soil first |
| Flowering Plants | Every 3–4 days depending on humidity |
Mistake 2: Choosing the Wrong Pots (Drainage Was an Afterthought)
I bought the prettiest ceramic pots I could find at a local home décor store. They looked absolutely gorgeous on my balcony. Zero drainage holes. I didn’t even think to check.
Within three weeks, my pepper plant started yellowing from the bottom up. I thought it was a nutrition issue and bought fertilizer. It was not a nutrition issue.
Root rot from stagnant water at the bottom of the pot had already started spreading by the time I figured it out. I lost that plant entirely.
Now I check drainage holes before anything else. If a pot doesn’t have them, I either drill holes myself (a basic drill bit does the job) or use it as a decorative outer pot with a plain nursery pot inside that does have drainage.
Also worth noting — pot size matters more than most beginners realize. A pot that’s too big for the plant holds excess moisture and suffocates the roots. A pot that’s too small stunts growth. Match the pot size to the plant, and then size up gradually as it grows.
For more ideas on how to set up your containers smartly, this guide on 5 Powerful Apartment Garden Guide Setup Ideas for Small Spaces is genuinely helpful.
Mistake 3: Underestimating How Much Light My Apartment Actually Got
My apartment faces north. I didn’t realize what that actually meant for my plants until half of them had stretched themselves into weird, leggy shapes desperately searching for sunlight.
I thought “near the window” meant “good light.” It doesn’t — not always. A north-facing window in a city with tall buildings around it can give your plants almost no usable light for most of the day.
I made the mistake of buying sun-loving plants — tomatoes, peppers, rosemary — for a low-light situation. None of them did well. Not one.
Here’s how I finally sorted it out:
- I used a free light meter app on my phone (Lux Light Meter is a decent one) to measure actual light levels in different spots throughout the day.
- I moved shade-tolerant plants to lower-light spots and kept the sunniest corners for my herbs.
- For my tomatoes, I eventually invested in a basic grow light — a simple LED panel from an online store for around $25–30. It wasn’t fancy, but it worked.
Quick light guide for apartment plants:
| Light Level | What It Means | Good Plants For This |
|---|---|---|
| Bright Direct (6+ hrs sun) | South/West window, open balcony | Tomatoes, Peppers, Basil |
| Bright Indirect | Near window, no direct rays | Pothos, Ferns, Peace Lily |
| Low Light | Away from windows, north-facing | Snake Plant, ZZ Plant, Cast Iron |
If you’re growing in a genuinely dim space, don’t fight it — choose plants that thrive there. Or get a grow light. Either works.
Mistake 4: Using Garden Soil from the Yard (or Wrong Bagged Mix)
My neighbour told me to just grab some soil from the building’s communal garden area. “It’s free and it’s real soil,” he said. I listened. That was a mistake.
Garden soil compacts heavily in pots. It doesn’t drain properly in containers, it can bring in pests, and it lacks the aeration that potted plants need. My plants just sat there, not really dying but definitely not growing either. Stunted and sulking.
The right move for apartment containers is a good quality potting mix — not potting soil, not garden soil. Potting mix is lighter, drains better, and usually includes perlite or vermiculite for aeration.
For vegetables and herbs, I now use a mix of:
- 60% quality potting mix
- 20% compost
- 20% perlite (for drainage)
It sounds fussier than it is. Once you mix a batch, you’re set for months.
Also, soil gets exhausted over time. If you’re reusing soil from last season, refresh it with fresh compost and a slow-release fertilizer before planting again.
The detailed breakdown in this article on 6 Powerful Apartment Garden Guide Soil Tips for Better Growth helped me really understand the soil science without making it feel overwhelming.
Mistake 5: Ignoring Fertilizing (Or Overdoing It Wildly)
My first season, I fertilized nothing. Zero. I figured the soil had nutrients and that was enough. My plants grew slowly, fruited poorly, and the leaves eventually went pale yellowish-green.
So in my second season, I overcorrected spectacularly. I thought “more is better” and started fertilizing weekly with a concentrated liquid fertilizer at double the recommended dose. My basil leaves curled and burned at the edges. A few plants dropped leaves entirely.
Both extremes are bad. Here’s the balanced approach I eventually landed on:
For a beginner-friendly fertilizing routine:
- Use a slow-release granular fertilizer when you first plant (mix it into the soil).
- Follow up with a diluted liquid fertilizer (half the recommended dose) every 2–3 weeks during the growing season.
- Stop or reduce fertilizing in autumn and winter when most plants naturally slow down.
- Watch your plants — yellowing older leaves often means nitrogen deficiency; brown leaf tips can signal over-fertilization.
I personally use a simple balanced 10-10-10 fertilizer for most things and switch to a higher phosphorus formula when plants are flowering or fruiting.
Mistake 6: Crowding Plants Together Because It “Looked Nice”
Okay, I’ll be honest — I crowded my balcony because I wanted it to look like one of those gorgeous photos you see on Instagram. Pots touching each other, vines weaving between herb pots, flowers wedged into every corner. It looked lovely.
It was a pest and disease nightmare.
Poor air circulation between tightly packed plants is basically an open invitation for fungal issues, aphids, and spider mites. Humidity builds up between leaves, soil stays wet longer, and by the time you spot a problem on one plant, it’s often already spread to three others.
I lost most of my spring herbs to a whitefly infestation that spread through my crowded balcony like wildfire. By the time I noticed the sticky residue on one plant’s leaves, the little pests had colonized everything within a two-pot radius.
The fix:
- Leave actual space between pots — at least 6 to 8 inches of airflow room.
- Prune regularly so plants don’t sprawl into each other.
- Check the undersides of leaves once a week. Pests hide there.
- If you spot an issue, isolate that plant immediately.
For managing pests without going full chemical warfare on your balcony, this breakdown on 5 Smart Apartment Garden Guide Pest Control Hacks That Actually Work has some genuinely practical, non-toxic approaches that saved me a lot of frustration.
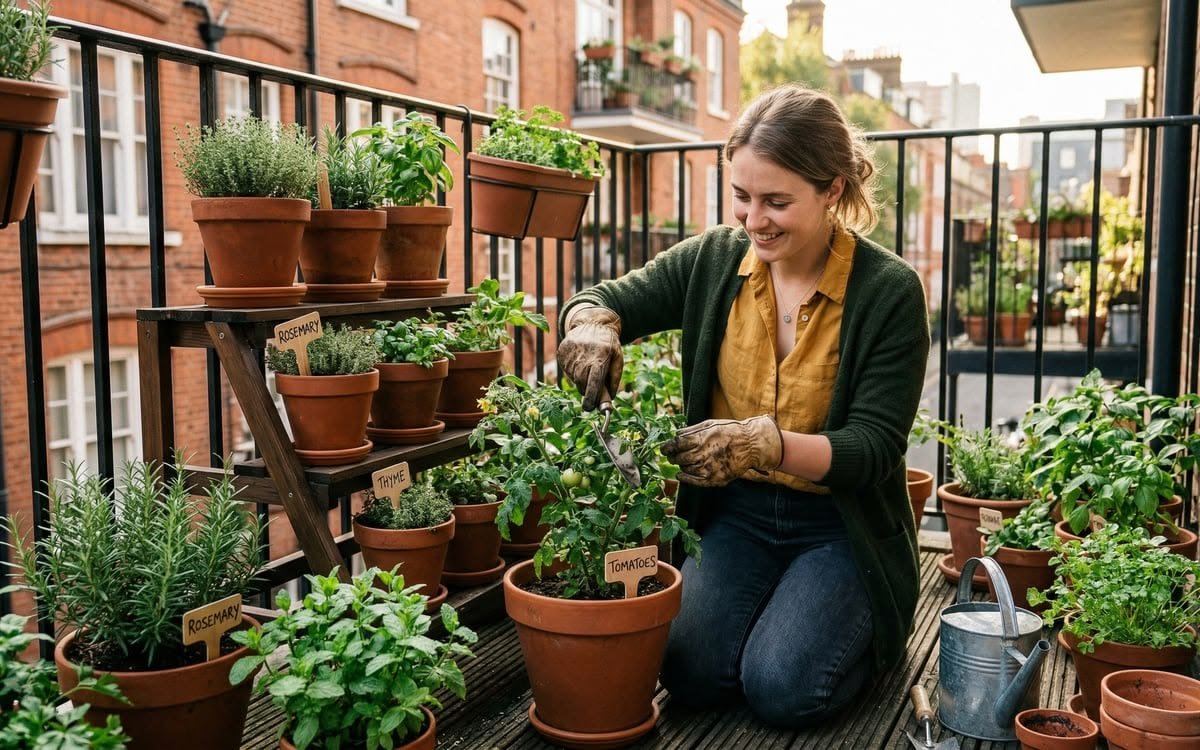
Mistake 7: Not Having Any Kind of Routine (Winging It Every Day)
This one sounds simple but it’s probably the most underrated mistake a beginner can make. I had no routine whatsoever. I’d water when I remembered, fertilize when I thought about it, check for pests basically never, and prune only when things started looking out of hand.
Plants, surprisingly, thrive on consistency. And so does the gardener.
Without a routine, you miss early warning signs. A plant that’s struggling for three days before you notice it is already in significantly worse shape than one you catch on day one. Small problems compound fast in containers because the root system is limited and the plant has no buffer.
The simple weekly routine that actually worked for me:
| Day | Task |
|---|---|
| Monday | Check soil moisture on all pots, water as needed |
| Wednesday | Inspect leaves (top and underside) for pests or disease |
| Friday | Water check again, prune any dead or leggy growth |
| Every 2nd Sunday | Apply liquid fertilizer (during growing season) |
| Monthly | Rotate pots for even light exposure |
This takes me maybe 20–30 minutes total across the week. And my plants are visibly healthier because of it.
I started keeping a simple notes app on my phone to track when I last fertilized each plant and any observations I made. It sounds overly organized, but when you have 15+ pots, you genuinely lose track without some system.
The Honest Truth About Apartment Gardening
Nobody tells you upfront that the learning curve involves some plant casualties. I definitely lost plants I shouldn’t have, spent money on mistakes that were avoidable, and felt discouraged more than once.
But the thing is — every mistake taught me something that no article could have fully prepared me for. Seeing your overwatered plant wilt and then reading about root rot hits differently than just reading about root rot in theory.
The wins feel genuinely good too. The first time I harvested enough basil from my balcony to make actual pesto, or watched my cherry tomatoes turn red one by one — those moments made all the trial and error completely worth it.
Start small, pay attention to your plants, and don’t try to build a perfect garden in week one. Give yourself a season or two to understand your specific space, your light, your climate, your schedule.
And if you’re looking for a solid place to continue learning, I found this article on 9 Proven Apartment Garden Guide Care Tips for Healthy Plants really practical for building good ongoing habits once you’ve got the basics sorted.
Your plants will tell you what they need — you just have to learn to listen.