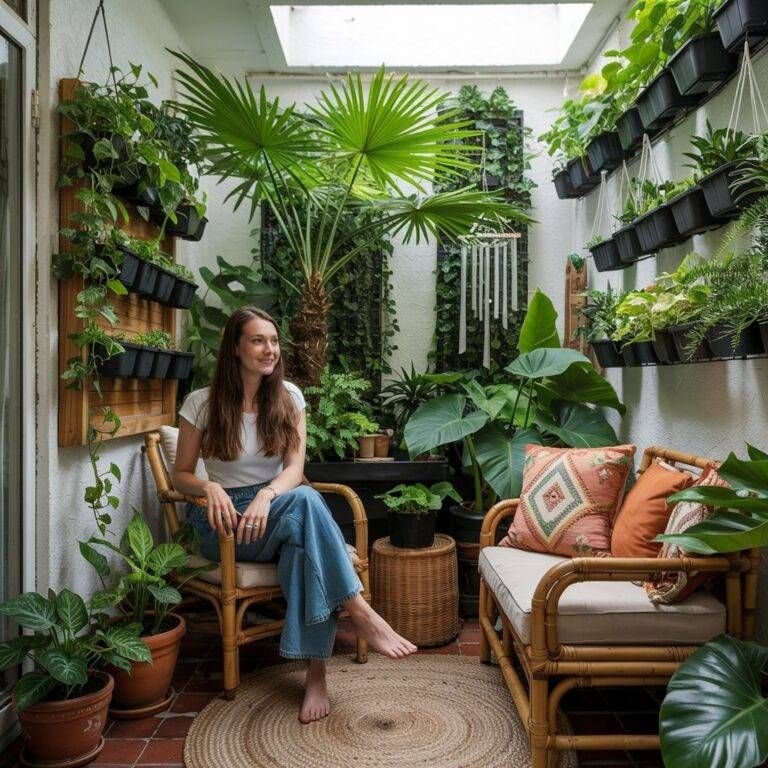
When I moved into my 480-square-foot apartment three years ago, I was convinced I’d never be able to garden again. My balcony was barely big enough to stand in, my windows faced a partial north, and my landlord had already given me the “no nails in the walls” speech. Classic.
But here’s the thing — I couldn’t let it go. I’d grown up with a backyard full of tomatoes and herbs, and the idea of just… not having plants around felt weirdly depressing. So I started experimenting. Some ideas flopped spectacularly (RIP, the hanging tomato planter that fell on my neighbor’s AC unit). Others changed how I use my space completely.
What follows are the 10 tricks that genuinely made a difference — not just looked good on Pinterest.
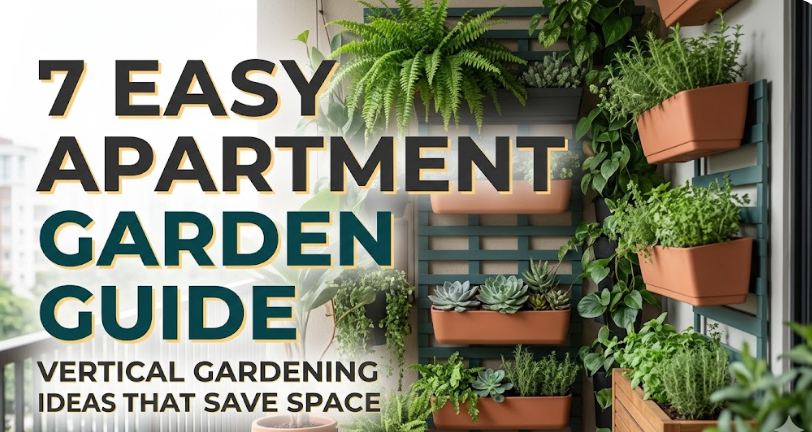
1. Go Vertical Before You Go Anywhere Else
This was the first mental shift that actually helped me. I kept staring at my floor space, trying to figure out where to put pots, when the entire south-facing wall was doing nothing.
A simple pegboard with S-hooks from any hardware store became my vertical herb wall. I hung small 4-inch pots of basil, mint, and thyme in a 3×3 grid. Total floor space used: zero.
What worked:
| Setup | Cost | Floor Space Used | Plants Supported |
|---|---|---|---|
| Pegboard + hooks | ~$25 | 0 sq ft | 9 small pots |
| Tiered metal stand | ~$35 | 2 sq ft | 6-8 medium pots |
| Hanging macramé planter | ~$15 | 0 sq ft | 1 trailing plant |
| Window box bracket | ~$20 | 0 sq ft | 4-6 shallow-root plants |
The pegboard approach is especially good if you want to try different herbs you can grow indoors — you can rearrange based on light requirements without moving anything heavy.
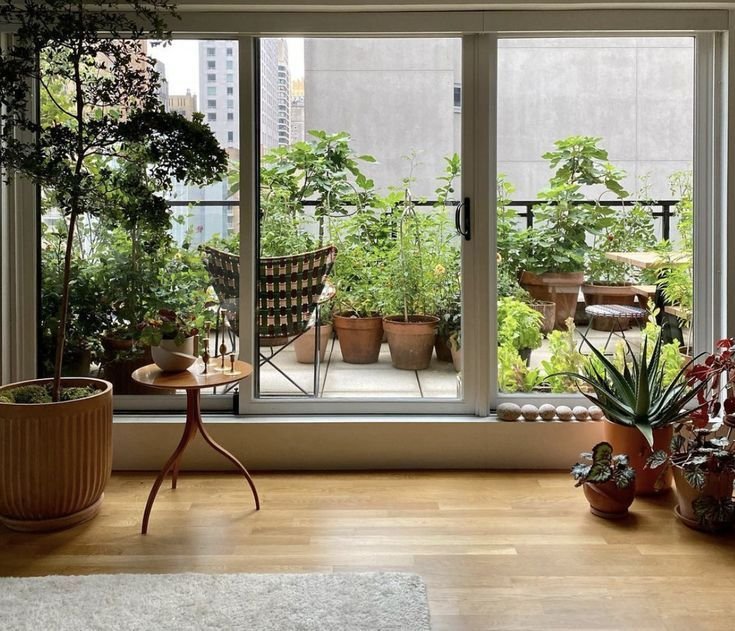
2. Use Your Window Sills Like Prime Real Estate
Most people treat window sills as decoration ledges. I treat mine like growing stations.
A south or east-facing sill gets about 4-6 hours of direct light in most apartments — enough for herbs, lettuce, and smaller pepper varieties. The key is using the right containers. Deep window boxes eat space; narrow ones (about 3 inches wide) sit flush and don’t interfere with opening the window.
One mistake I made early on: I bought window boxes that were too deep and heavy, and they made the window feel claustrophobic. Switched to lightweight fabric window box inserts — game changer.
3. Stack Planters Instead of Spreading Them Out
Stackable planters look like a gimmick, but they genuinely work for the right plants. I use a 5-tier strawberry tower on my balcony that produces more strawberries in a 1-square-foot footprint than a traditional flat garden bed three times the size.
The plants I’ve had the most success stacking:
- Strawberries
- Lettuce varieties (especially romaine and butterhead)
- Herbs like parsley and oregano
- Pansies and nasturtiums
What doesn’t work: anything with deep roots (carrots, beets) or anything that spreads aggressively (zucchini, I’m looking at you).
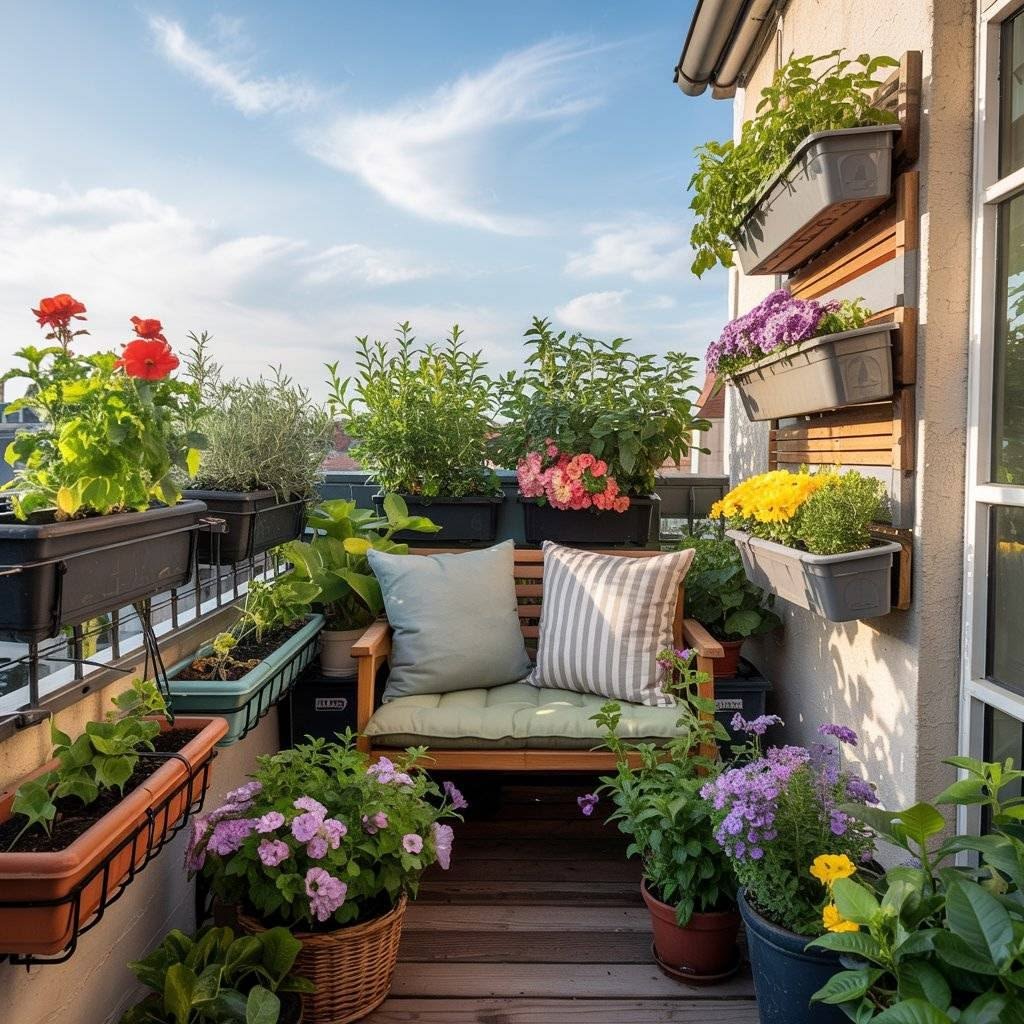
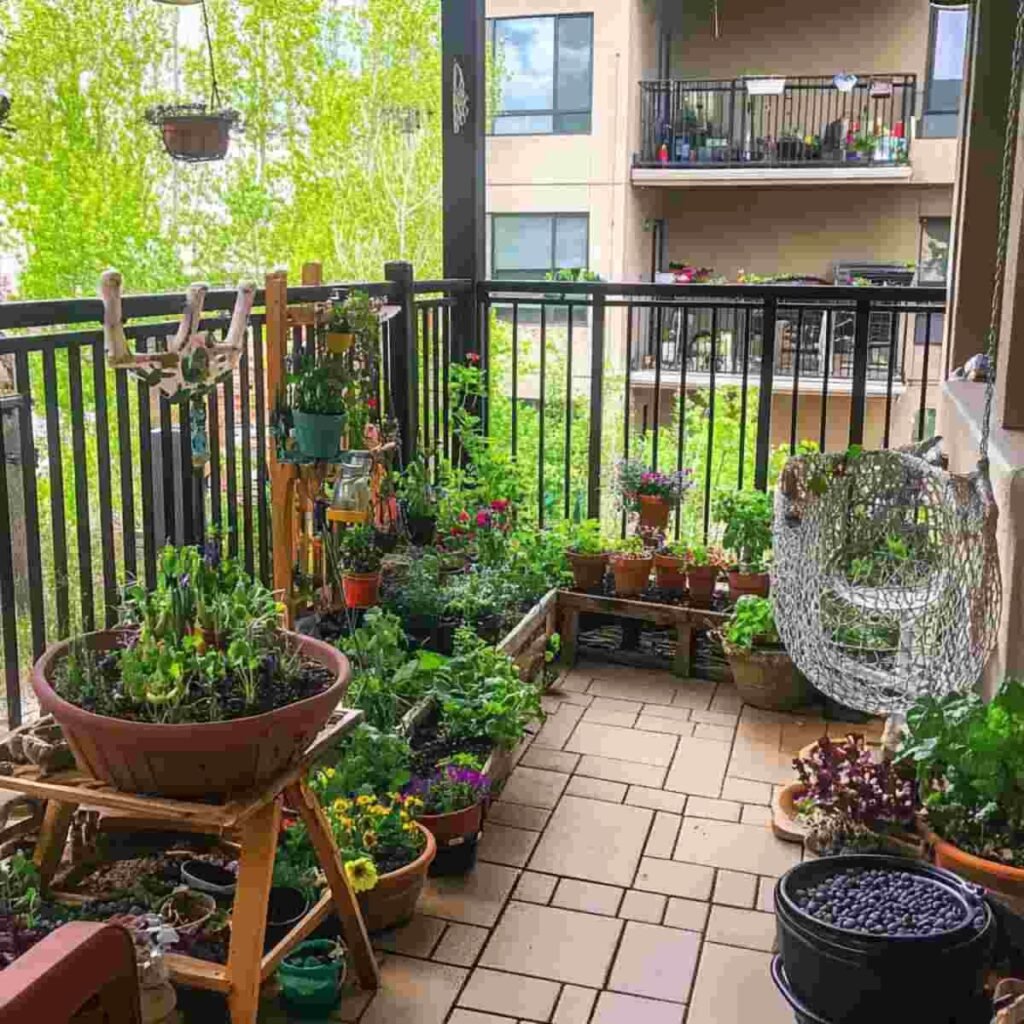
4. Rail Planters Are Underrated
If you have a balcony railing, you have growing space — and most people completely ignore it.
Rail planters hook directly onto the railing, facing outward. They don’t take up any floor or wall space, and since they’re at chest height, they’re actually easier to tend than pots on the floor. I grow cherry tomatoes in mine from May through September.
The one caveat: check your railing’s weight limit. Most standard apartment railings handle 15-25 lbs per running foot, but older buildings can be different. Lightweight plastic rail planters with lightweight potting mix keep things safe.
5. Fold-Down Potting Stations Keep Things Tidy
This one isn’t about growing space — it’s about workspace. One reason small-space gardening gets messy fast is there’s nowhere to repot, trim, or mix soil without making a disaster.
I installed a simple fold-down wooden shelf bracket on my balcony wall. It stays flat against the wall (about 2 inches of depth) when not in use and folds out to a 24-inch wide work surface when I need it. Took about 45 minutes to install and cost around $30 in hardware.
If drilling isn’t an option, a small folding table that lives behind a door works almost as well.
6. Think in Zones, Not Just Containers
This is the conceptual trick that made everything else click into place for me.
Instead of treating each plant as its own separate project, I started mapping my apartment by light zones and matching plants to zones accordingly. It sounds fancier than it is — I basically just walked around with a notebook for two days noting where direct light hit and for how long.
Here’s what I found in my apartment:
| Zone | Light Level | Best Plants |
|---|---|---|
| South windowsill | 5-6 hrs direct | Tomatoes, peppers, basil |
| East balcony corner | 3-4 hrs direct | Lettuce, herbs, strawberries |
| North-facing shelf | Bright indirect | Pothos, ferns, snake plant |
| Interior shelf with grow light | Artificial | Microgreens, seedlings |
Once you map your zones, buying plants becomes much less of a guessing game. This was honestly the biggest mistake I made at the start — buying plants I liked without checking if I had the light for them.
Check out some ideas for setup approaches for small spaces that can help you think about this more systematically.
7. Double Up With Grow Lights for Dark Corners
Not every apartment has great natural light. Mine definitely doesn’t in winter. And for a long time I just accepted that and stopped growing anything from November to March.
Then I got a simple clip-on LED grow light — a Barrina T5 bar-style one, about $30 — and put it over a shelf in my living room. Suddenly that shelf was producing lettuce year-round.
Modern LED grow lights are not the hot, expensive, electricity-guzzling monsters they used to be. A decent one uses about as much electricity as a laptop. The ones worth looking at:
- Barrina 2ft grow bars — affordable, stackable, good for herbs and greens
- Mars Hydro TS600 — better for fruiting plants if you have a dedicated space
- SANSI 15W LED bulb — fits a regular lamp socket, perfect for a single shelf
The mistake people make is positioning: grow lights need to be 4-12 inches above the canopy, not 3 feet away. A light that’s too far away is basically useless.
8. Use the Tops of Cabinets and Fridges
Nobody uses the tops of their kitchen cabinets for plants. Everyone should.
Trailing plants like pothos, string of pearls, and heartleaf philodendrons thrive up high where they get ambient light and nobody has to trip over them. The height also makes them look intentional — like actual decor — rather than just pots shoved into any available space.
For plants that need more light, a small grow light bar mounted to the underside of an upper cabinet works brilliantly. I have one over my countertop herb station — it looks like under-cabinet task lighting but it’s growing my cilantro.
9. Grow Up, Not Out — Trellis Systems That Don’t Require Drilling
If you want to grow climbing plants like peas, cucumbers, or pole beans, you need vertical support. But most apartments won’t let you drill into walls or ceilings.
Freestanding trellis systems are the answer. I use a bamboo A-frame trellis that sits inside a deep planter box — no drilling required, completely stable once plants start climbing it. Fits in a 12-inch square footprint and can support plants 4-5 feet tall.
For balconies, tension rod trellises work surprisingly well — they wedge between the floor and ceiling or between two walls and can support a significant amount of plant weight.
This approach is especially worth trying if you’re interested in fast-growing plants that give you quick harvests — climbers like peas and pole beans grow fast and produce heavily for the space they take up.
10. Consolidate Your Tools So They Don’t Eat Space
This one sounds boring, but hear me out — the tools problem is real.
When I started, I had a trowel on the balcony, pruning shears in the kitchen drawer, a watering can under the sink, soil amendments in a bag in the closet, and stakes leaning against the bedroom wall. It was a scattered mess that made me not want to do any maintenance because getting started felt like a scavenger hunt.
Now everything lives in a single canvas tote bag that hangs on a hook by my balcony door. When I want to tend to plants, I grab the bag, go out, do everything, put it all back, hang it up. Total time to set up: zero.
The tote holds: small trowel, bypass pruners, spray bottle, moisture meter, a few bamboo stakes, a little container of slow-release fertilizer, and plant labels. That’s genuinely all you need for a small apartment garden.
For a more detailed look at what tools are worth having, this guide on essential tools every beginner needs is worth a read.
A Few Common Mistakes I See All the Time
Buying too many plants at once. I did this twice. You end up overwhelmed, some get neglected, and you lose confidence when things die. Start with five plants, get them thriving, then expand.
Ignoring drainage. Decorative pots without drainage holes kill plants slowly through root rot. Either drill a hole, use them as cache pots (pot inside a pot), or only put very drought-tolerant plants in them.
Watering on a schedule instead of checking the soil. Different plants in different sized pots in different light conditions dry out at completely different rates. A moisture meter (they’re about $10 on Amazon) removes all the guesswork. I use mine every single time before watering.
Underestimating how heavy pots get. A 12-inch pot with moist soil can weigh 20+ pounds. If you’re stacking or using balcony railings, factor in wet weight, not dry weight.
The Part Nobody Tells You
Space-saving gardening in apartments isn’t just about clever storage tricks — it’s about being ruthless with what you actually grow.
Every year I edit my plant list down. I ask: does this plant earn its space? Does it produce something useful or beautiful enough to justify the square footage? If not, I cut it.
The plants that consistently earn their keep in my apartment: cherry tomatoes (insane yield per square foot), basil (grows fast, use it constantly), lettuce (cut-and-come-again, nearly always producing), strawberries (kids think they’re magical), and a good trailing pothos somewhere in every room.
Once you get the space-saving structure right, the actual growing becomes the fun part — not the logistical challenge it was when I started. Your apartment might be small, but your garden doesn’t have to be an afterthought.
Also worth reading: 10 Easy Apartment Garden Guide Hacks I Wish I Knew Earlier — a lot of the hard lessons I learned the slow way, condensed into one place.