Honestly, my balcony used to embarrass me. It was basically a storage unit with a view — broken plastic chairs, a deflated yoga ball, some random extension cords, and one very sad cactus that somehow survived three years of complete neglect.
Then one spring I decided enough was enough. I gave myself a weekend, a modest budget, and zero professional experience. What happened over the next few weeks genuinely surprised me. The space went from “please don’t look out there” to the spot every guest immediately walks toward when they visit.
Here’s everything I learned — including the mistakes I made, the things I’d skip next time, and the tips that made the biggest difference.
1. Start With a Ruthless Declutter (Seriously, Remove Everything)
I know this sounds obvious but hear me out. When I first tried to “makeover” my balcony, I worked around the clutter. I added a few plants, threw a rug down, and wondered why it still looked chaotic. The answer was simple: you can’t decorate around mess.
The moment I completely cleared everything off and stood in an empty balcony, I could finally see the space. I noticed the actual dimensions (smaller than I thought in one direction, longer than expected in another). I noticed where the morning sun hit. I noticed a small drainage slope I hadn’t paid attention to before.
What to actually do:
- Remove everything, no exceptions
- Sweep and scrub the floor — grime makes small spaces feel depressing
- Check for any cracked tiles, rusted railings, or loose screws (fix these first)
- Measure the exact dimensions and note which direction gets sunlight
That last point matters more than people realize. My balcony faces northwest, which means strong afternoon sun but very little in the morning. That single fact changed every plant decision I made.
2. Define a “Zone” Even If You Only Have 40 Square Feet
This was the advice I almost skipped because it sounded fancy and unnecessary for a tiny space. I was wrong.
Zoning just means deciding what your balcony is for before you start filling it. Is it a place to sit with coffee? A herb garden? A relaxation nook? An Instagram corner (no shame, we’ve all been there)?
My balcony is about 45 square feet. I split it into two micro-zones:
| Zone | Purpose | Items |
|---|---|---|
| Seating corner | Morning coffee, reading | Bistro chair, small side table, 1 large planter |
| Garden wall | Growing herbs + trailing plants | Vertical shelf, 6 small pots, wall hooks |
The moment I made this decision on paper before buying anything, I stopped wasting money on things that didn’t serve a purpose. No more decorative lanterns that took up floor space. No more oversized furniture that blocked movement.
Even if your balcony fits exactly one chair and a pot, deciding that intentionally makes it feel designed rather than accidental.
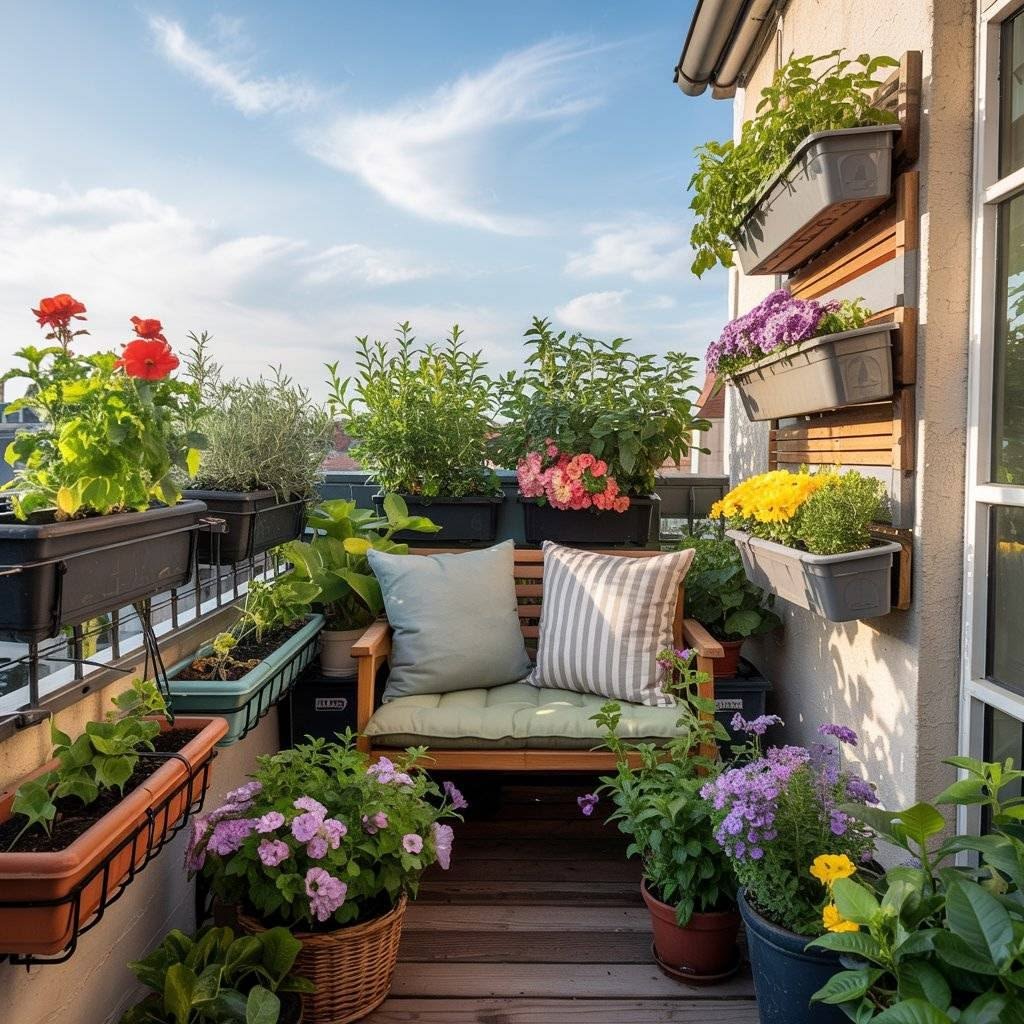
3. Go Vertical — Your Floor Space Is Precious Real Estate
Floor space on a small balcony is like beachfront property. Don’t waste it.
When I first started adding plants, I put everything on the floor. Within two weeks the balcony felt completely claustrophobic and I could barely open the sliding door fully. The fix? Go up.
I bought a simple three-tier metal shelf from a local hardware store (nothing fancy — cost me less than $30). That shelf now holds 9 plants and takes up roughly 2 square feet of floor space. The math alone should convince you.
Other vertical options that worked for me or people I know:
- Railing planters — These clip or hang onto the railing and are completely off the floor. Great for herbs like basil, mint, and thyme.
- Wall-mounted hooks — I hung three small ceramic pots using basic S-hooks and a horizontal rod mounted between two wall anchor points.
- Macramé hangers — I was skeptical of these (they felt too Pinterest-core) but one trailing pothos in a hanging planter genuinely transformed a dead corner.
If you want ideas specifically around shelving and vertical setups, 7 Easy Apartment Garden Guide Vertical Gardening Ideas That Save Space breaks this down with some genuinely creative approaches I hadn’t thought of.
4. Pick Plants That Actually Suit Your Balcony Conditions
This was my biggest early mistake. I bought plants I liked the look of instead of plants that would survive my specific conditions.
I bought a beautiful fiddle-leaf fig for my balcony. Direct afternoon sun, occasional wind, and temperature swings destroyed it within three weeks. That plant needed stable indoor conditions. I gave it a windy balcony. Completely my fault.
Here’s the framework I use now before buying any plant:
Questions to ask yourself:
- How many hours of direct sunlight does my balcony get per day?
- Does it get wind? Strong or light?
- What’s the temperature range across seasons?
- How often am I realistically going to water?
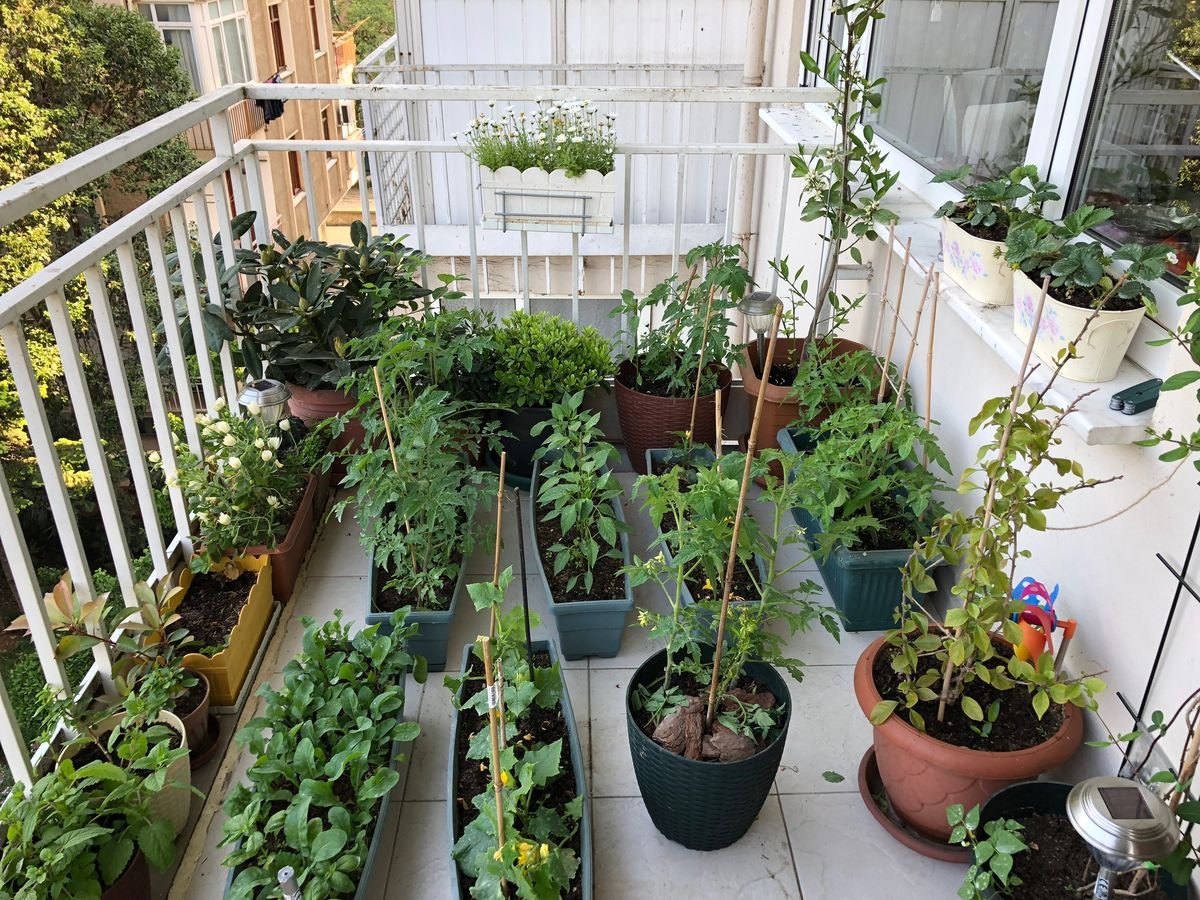
Based on this, I now grow: cherry tomatoes, mint, rosemary, aloe vera, marigolds, and one Boston fern that lives in the shadier corner. Every single one of these was chosen because they suit my conditions, not because they looked pretty in the nursery.
Quick Balcony Plant Guide:
| Condition | Good Plant Choices |
|---|---|
| Full sun (6+ hrs) | Tomatoes, basil, marigolds, lavender |
| Partial sun (3-5 hrs) | Mint, ferns, begonias, spinach |
| Low sun / shade | Pothos, peace lily, snake plant |
| High wind exposure | Succulents, rosemary, ornamental grasses |
For herbs specifically — and I cannot recommend this path enough — 7 Powerful Apartment Garden Guide Herbs You Can Grow Indoors gave me a really solid shortlist when I was starting out.
5. The Flooring Upgrade That Changed Everything
Nobody talks about balcony flooring enough. My balcony had old concrete that was stained and slightly cracked. Even when I added beautiful plants and furniture, the floor made everything look unfinished.
I went with interlocking wood-look deck tiles — the kind you can find at IKEA (Runnen tiles) or any home improvement store. They click together like puzzle pieces, require zero tools or drilling, and can be removed when you move out. This was a game-changer.
Cost breakdown (my actual numbers):
| Item | Cost |
|---|---|
| 11 packs of deck tiles (45 sq ft coverage) | ~$110 |
| Outdoor rug (2×3 ft, layered over tiles) | ~$25 |
| Total flooring update | ~$135 |
The difference in feel was dramatic. The tiles made the space look intentional and finished. They also made the balcony noticeably more comfortable to stand on barefoot in the morning, which sounds minor but genuinely changes how often you use the space.
One thing I learned the hard way: measure carefully and buy slightly more than you think you need. I bought exactly enough and had to make a second trip when one tile cracked during installation.
6. Lighting Does More Work Than Any Decoration
If you’ve ever wondered why some balconies look magical in photos and yours looks flat — it’s probably the lighting.
I added fairy lights first (the classic warm-white LED string lights). They helped, but what really made the difference was adding a small solar-powered lantern on the side table and two clip-on spotlights aimed at my larger plants.
The plant uplighting sounds extra, but when you’re sitting on your balcony in the evening and the foliage has that soft glow? It looks genuinely beautiful. Takes 5 minutes to set up.
Lighting layers that work:
- Ambient: String lights along the railing or overhead
- Accent: Small lantern or candle on the table
- Uplighting: Clip spotlight aimed upward at plants (solar or USB-powered)
Total I spent on lighting: under $40 for everything. The solar lantern was $12 on Amazon. The string lights were $15. The clip spotlights were two for $11.
Avoid flashing or color-changing lights unless you’re specifically going for a party vibe. Warm white (2700K-3000K) is the sweet spot for a cozy, relaxing atmosphere.
7. Create a Simple Maintenance Routine (Or It All Falls Apart)
Here’s the honest truth: I had a beautiful balcony for exactly six weeks before I let it slide back into mild chaos. Not as bad as before, but plants got dry, dead leaves piled up, and I stopped sitting out there.
The problem was I had no routine. I’d water when I remembered, clean when it bothered me enough, and fertilize basically never.
Now I have a 10-minute weekly routine and it’s kept the whole space in great shape for months:
My Weekly Balcony Routine:
| Day | Task | Time |
|---|---|---|
| Monday | Water all plants, check soil | 5 min |
| Wednesday | Spot-check (remove dead leaves, check for pests) | 3 min |
| Saturday | Wipe down furniture, sweep floor, reorganize anything out of place | 7 min |
| Monthly | Fertilize, prune larger plants, rotate pots for even sun | 15 min |
If you want help building something like this, 7 Easy Apartment Garden Guide Routines That Save Time Daily is exactly what I wish I’d read before I started.
For fertilizing, I use a basic balanced liquid fertilizer diluted to half strength. Nothing fancy. I’ve tried several and honestly the cheap generic options work just as well as branded products for most herbs and flowering plants.
Pests are also more common than people expect on balconies. I got fungus gnats in my mint pot — not because I was dirty, just because I overwatered once. A layer of sand on top of the soil fixed it within a week. No chemicals needed.
Common Mistakes I Made (So You Don’t Have To)
A few things I genuinely wish someone had told me before I started:
Overbuying plants immediately. Start with 3-5 plants you can actually manage. Once those are thriving, add more. I killed four plants in my first month by buying too many and not knowing what any of them needed.
Buying furniture that’s too big. Measure your space, then measure the furniture, then measure again. I bought a bistro set that looked small in the store. On my balcony it took up 60% of the floor and I couldn’t even walk around it comfortably.
Ignoring drainage. Pots without drainage holes are a plant death sentence. Water collects at the bottom and roots rot. Every pot I own has drainage holes and sits on a small saucer.
Using indoor soil for balcony containers. Outdoor container plants need well-draining potting mix, not regular garden soil. Garden soil compacts in pots and suffocates roots. I learned this after losing two tomato plants.
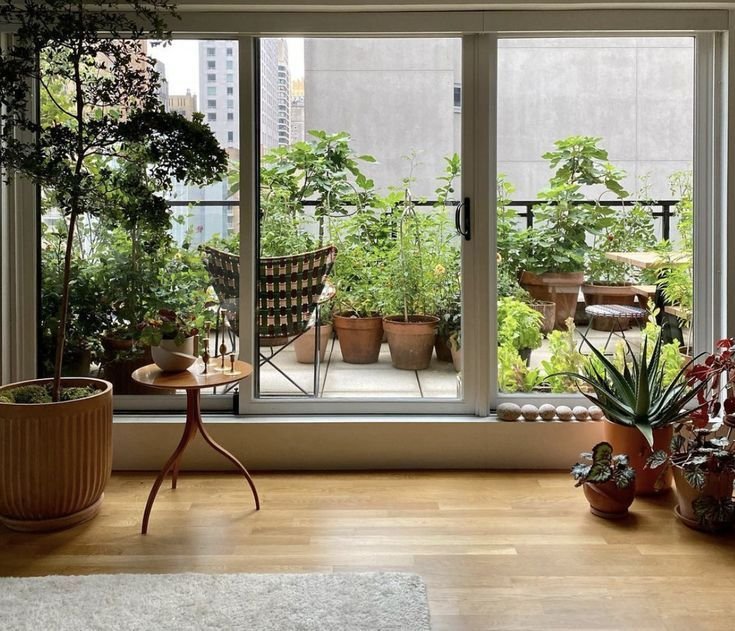
What My Balcony Looks Like Now
Total spent over about two months: roughly $280. That includes tiles, plants, pots, furniture, lighting, and soil.
The space now has: a small bistro corner for morning coffee, a three-tier plant shelf with herbs and trailing plants, string lights along the railing, two hanging planters, and a little side table that holds a book and a solar lantern.
More importantly — I actually use it. I sit out there most mornings. I’ve started eating lunch there on weekends. Guests always end up migrating to the balcony within twenty minutes of arriving.
That’s the real measure of a successful makeover. Not how it looks in photos. How often you actually want to be there.
If you’re just starting and feel overwhelmed by where to begin, don’t try to do everything at once. Pick one tip from this list — honestly, start with the declutter — and do just that. The momentum builds naturally from there.
For a deeper look at balcony-specific ideas if you’re working with an especially tiny space, check out 9 Smart Apartment Garden Guide Tricks for Tiny Balconies — there are some genuinely clever approaches there that I’ve since incorporated into my own setup.